Applying silicone sealant can be a tricky process, especially for beginners aiming for a clean, professional finish. One commonly used trick to make this task easier is the use of soapy water. This simple solution can dramatically improve the result by allowing smoother tooling and preventing silicone from sticking to your fingers or tools. Whether you’re sealing a bathtub, kitchen sink, or window frame, understanding how to use soapy water when applying silicone can make a noticeable difference in both the quality and efficiency of your work.
Why Use Soapy Water When Applying Silicone?
Soapy water is often used as a lubricant and release agent when working with silicone sealant. It helps ensure that the silicone doesn’t stick to surfaces where it’s not wanted, such as your hands or the surrounding tiles. The key benefits of using soapy water include:
- Smoother finish: Makes it easier to tool the silicone and achieve a neat bead.
- Prevents sticking: Stops silicone from adhering to your fingers, tools, or nearby surfaces.
- Time efficiency: Allows faster application with less mess.
- Better control: Helps you shape and direct the bead more easily.
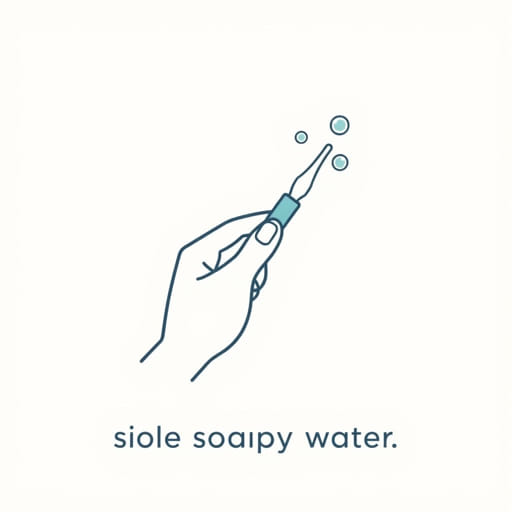
How Soapy Water Works
Silicone is a sticky and viscous substance that can cling to anything it touches. When you spray a light mist of soapy water onto the silicone and the surfaces you’re sealing, it creates a barrier that prevents the silicone from sticking to tools or hands. This makes it easier to smooth the bead and clean up excess product. The soapy solution essentially acts as a lubricant between the silicone and the tooling object, typically a finger or a finishing spatula.
What Type of Soap to Use
When making your soapy water solution, a mild liquid dish soap mixed with water is usually the best option. Avoid strong or highly scented cleaners, as these may affect the silicone’s curing process or leave unwanted residue. A good ratio is about one teaspoon of dish soap to one cup of water. Pour the mixture into a spray bottle for easy application.
Step-by-Step Guide: Applying Silicone with Soapy Water
To achieve the best results when using soapy water for silicone application, follow these steps:
- Prepare the area: Clean the surface thoroughly, removing old silicone, dirt, and debris.
- Apply masking tape: For straight lines and clean edges, place masking tape on either side of the joint.
- Cut the silicone tube nozzle: Make a clean cut at a 45-degree angle and load it into a caulking gun.
- Apply the silicone: Slowly and evenly dispense silicone along the joint or crack.
- Spray soapy water: Lightly mist the freshly applied silicone and surrounding area.
- Smooth the bead: Use your finger or a caulking tool dipped in soapy water to smooth the bead.
- Remove tape immediately: Before the silicone sets, carefully pull off the masking tape for a crisp line.
- Let it cure: Allow the silicone to dry as per manufacturer’s instructions.
Tips for Best Results
Here are a few additional tips to ensure the best outcome when using soapy water while applying silicone:
- Do not over-wet the surface; a light mist is sufficient.
- Keep a clean cloth handy to wipe excess silicone from your tools.
- Always work in a well-ventilated area to avoid inhaling fumes.
- Use latex or nitrile gloves if you prefer not to touch silicone directly.
- Practice on a scrap surface if you’re new to silicone application.
Common Mistakes to Avoid
Using soapy water with silicone is straightforward, but certain mistakes can reduce its effectiveness:
- Too much soap: Excessive soap can interfere with adhesion and curing.
- Applying too late: If the silicone begins to skin over before you smooth it, soapy water won’t help much.
- Touching dry surfaces: Ensure both the tool and your finger are wet with the soapy solution.
- Not removing tape in time: Leaving masking tape too long can cause the silicone to tear when removed.
Where This Technique Is Most Useful
The soapy water trick is particularly helpful in areas where precision and cleanliness are crucial. This includes:
- Bathrooms: Around bathtubs, showers, and sinks where waterproof sealing is essential.
- Kitchens: Sealing around countertops, backsplashes, and sinks.
- Windows and Doors: Providing a weatherproof barrier between frames and walls.
- Outdoor Use: Where neatness counts and weather resistance is required.
Can Soapy Water Affect Silicone Adhesion?
Some concerns exist about whether soapy water might interfere with silicone’s ability to adhere. While it’s true that applying too much soapy water or using strong chemicals can affect curing, when used correctly and sparingly, soapy water has minimal impact on the integrity of the seal. Always use the least amount needed and avoid letting the mixture pool on the joint. It’s also essential to use a high-quality silicone product suitable for your intended application.
Alternative Methods for Smoothing Silicone
While soapy water is a popular and affordable option, other methods exist for achieving a smooth silicone finish:
- Smoothing tools: Specially shaped silicone applicators or caulking tools are available in hardware stores.
- Masking tape alone: Using tape to control edges without soapy water, followed by careful smoothing.
- Alcohol sprays: In some cases, rubbing alcohol can be used instead of soapy water, though it may evaporate more quickly.
Using soapy water when applying silicone is a simple yet highly effective method for achieving a professional finish. It reduces mess, makes tooling easier, and improves the overall appearance of your seal. When done properly, it saves time and effort while enhancing the final result. Whether you’re a DIY enthusiast or a seasoned contractor, incorporating soapy water into your silicone application process is a technique well worth mastering.