When working with paper whether for folding, crafting, packaging, or office work you may come across an issue where the sheet develops a slanting crease. This kind of unintended fold can disrupt precision, spoil a design, or affect the quality of printed or written material. Getting a slanting crease on the paper can be frustrating, especially when neatness and alignment are essential. Understanding why it happens, how to prevent it, and how to fix it can save time and improve the final result of any paper-related task.
What Is a Slanting Crease?
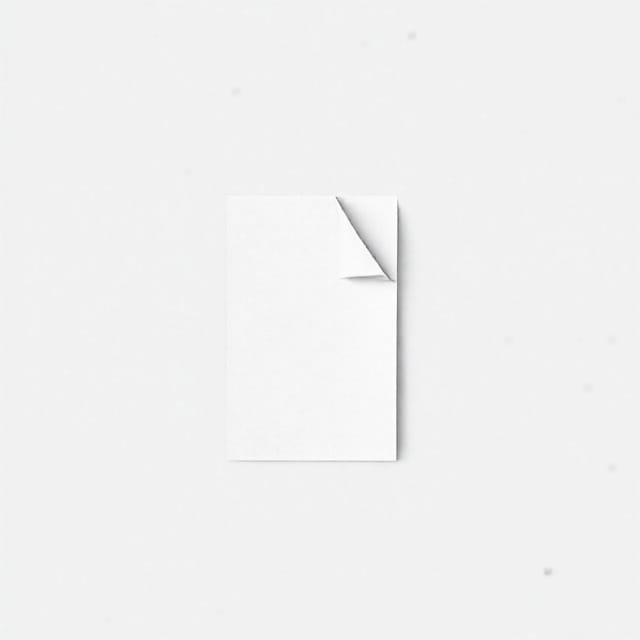
A slanting crease is a diagonal or slightly tilted fold line that appears on a sheet of paper. Unlike intentional folds made for origami or document handling, this crease is usually accidental and misaligned. It may run from one corner to another or appear at an uneven angle across the paper, giving a wrinkled or crumpled appearance.
These creases can happen during manual handling, feeding paper into a printer, folding by hand, or storing sheets improperly. In professional settings such as graphic design, administration, or arts and crafts, getting a slanting crease on the paper is often seen as a sign of carelessness or poor handling.
Common Causes of Slanting Creases
1. Improper Folding Techniques
One of the most frequent causes of a slanting crease is folding the paper without aligning the edges properly. When folding by hand, if you don’t match the corners or sides before creasing, the fold line can end up slanted. This is common when working quickly or without a flat, stable surface.
2. Printer or Copier Misalignment
If you’re printing a document and notice a slanted crease afterward, your printer or copier might be the culprit. Paper that is not fed evenly through rollers or is slightly off-center can bend during the printing process, especially if the machine is overloaded or the tray guides are misaligned.
3. Poor Storage Conditions
Paper stored in humid or uneven environments can warp, leading to slanting creases when it’s later used. Heavy stacking or cramming sheets into tight spaces can also result in diagonal folds. Curling and bending due to moisture make the paper more vulnerable to misfolding when handled.
4. Manual Handling Errors
Handling paper carelessly, especially when shuffling through stacks, organizing files, or inserting sheets into folders, can lead to unintentional bends. If pressure is applied unevenly or too much force is used, the paper might fold at an angle, forming an unwanted crease.
How to Prevent Slanting Creases
1. Align Paper Edges Carefully Before Folding
Always ensure that the paper’s corners and edges are perfectly aligned before making any fold. Use a hard, flat surface and, if needed, a ruler or bone folder to guide the crease line. Press gently and evenly to avoid skewed folds.
2. Adjust Printer Settings and Paper Tray
If you’re printing documents, check that the paper is loaded correctly. Use the side guides in the tray to hold the sheets firmly but not too tightly. Keep the paper straight and centered to prevent jams or diagonal bending.
In high-speed printers or copiers, even a slight misalignment can cause a crease. Regular maintenance of printer rollers and internal paths can help ensure smooth paper movement and reduce the risk of slanted folds during printing.
3. Store Paper Flat and Dry
Proper storage goes a long way in preventing slanting creases. Keep your paper in a dry, cool place, ideally inside sealed packaging or containers that prevent moisture from affecting the sheets. Stack paper flat and avoid overloading or bending the corners.
4. Use Quality Paper for Folding Projects
Thin, flimsy paper is more prone to creasing unintentionally. For folding tasks like origami or card-making, use paper designed for folding something with enough stiffness to hold shape but flexible enough to avoid cracking. Using the right material reduces the chance of uncontrolled bends.
Fixing a Slanting Crease on Paper
1. Use Gentle Pressure to Flatten the Paper
Place the creased sheet between two heavy books or flat objects for a few hours. The pressure can help reduce the visibility of the slanting crease. If the crease is light, this might be enough to make it unnoticeable.
2. Iron the Paper with Caution
For more stubborn creases, you can try using a household iron. Place the paper between two clean cloths and gently press with a warm (not hot) iron. Avoid using steam, as moisture can cause more wrinkles. Always test with scrap paper first to ensure the heat does not cause damage.
3. Humidify and Flatten
Another trick involves lightly humidifying the paper and pressing it flat afterward. Place the paper in a slightly humid environment for a short time, then lay it flat under a heavy object. This allows the fibers to relax and reset their shape, but be careful not to overdo it and cause further curling.
When Slanting Creases Matter Most
Some situations demand perfect paper presentation, making slanting creases unacceptable. Examples include:
- Formal letters and resumes: Any wrinkle can make a bad impression.
- Origami or paper crafts: Precision is essential for the design to work properly.
- Legal or official documents: Creases can make papers look tampered with or damaged.
- School projects or certificates: Neatness is often part of the grading or value.
In such cases, prevention is better than correction. Take care in every step from handling and folding to printing and storage to maintain crisp, clean sheets.
Using Tools to Help Avoid Slanted Folds
Ruler or Straight Edge
A simple ruler helps guide your folds to ensure they stay straight. Align it carefully with the edge of the paper and fold along its line. This adds precision to your work, especially in paper design tasks.
Bone Folder or Crease Tool
Craft tools like a bone folder allow you to make clean, sharp folds without causing unintended creases. These are widely used in bookbinding, scrapbooking, and card making to avoid diagonal or uneven lines.
Paper Scorer
A scoring tool creates a slight indentation along the fold line, making it easier to fold neatly. This reduces resistance and prevents paper from bending unpredictably. It’s ideal when you need to fold multiple sheets or work with thicker materials.
Getting a slanting crease on the paper can disrupt your work, especially when appearance and precision are important. Whether the crease happens during folding, printing, or handling, it often comes down to misalignment, poor storage, or lack of care. By understanding the causes and following practical tips for prevention and correction, you can avoid this common problem. With the right techniques and tools, your paper can stay neat, flat, and professional free of slanted lines and unwanted creases.