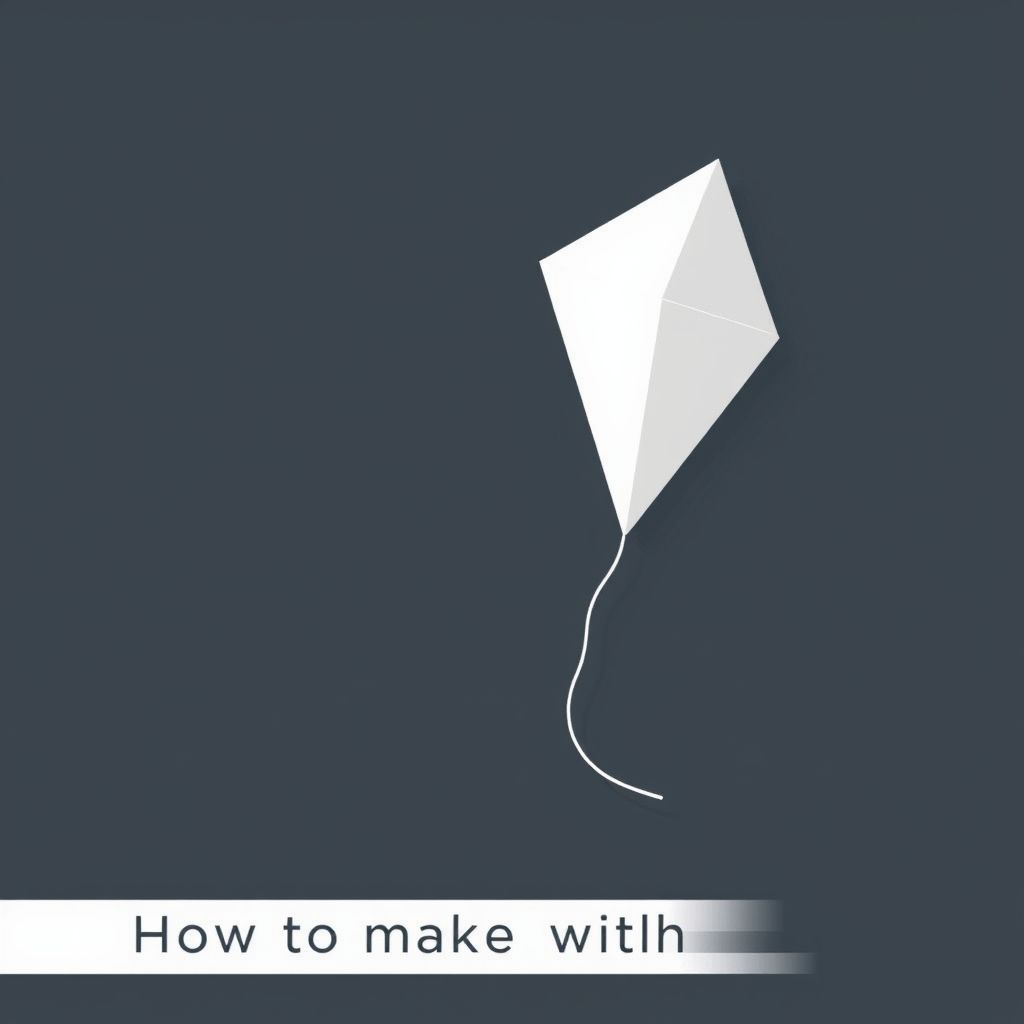
Making a kite from paper is a delightful and rewarding experience that blends creativity with the thrill of flight. Whether you’re crafting with children, exploring a DIY project, or reminiscing about simple pleasures, creating a kite from paper offers joy, fun, and a chance to enjoy the outdoors. With a few basic supplies and careful steps, anyone can design a colorful and functional paper kite that soars beautifully in the sky.
Materials You’ll Need
Before getting started, gather the following supplies. These materials are affordable and easy to find at home or any stationery store.
- A4 or larger sheet of paper (lightweight, yet durable)
- Two wooden skewers or thin bamboo sticks
- String or twine
- Glue or strong tape
- Scissors
- Marker or crayon (for decoration)
- Hole punch or sharp object (to make holes)
- Optional: ribbon or streamers for the tail
Choosing the Right Paper
Paper selection plays a vital role in kite-making. Too thick, and the kite may be too heavy. Too thin, and it may tear in the wind. Ideally, choose lightweight craft paper, printer paper, or even newspaper. Colored paper can enhance the look, but ensure it doesn’t compromise the weight and flexibility.
Step-by-Step Instructions
Step 1: Build the Frame
The kite frame determines the shape and structure. Use two wooden skewers or bamboo sticks to form a cross. Place one stick horizontally across the middle of the other stick (which should be vertical) to create a T’ or cross shape. Secure them tightly in place using glue and string. Let the glue dry thoroughly.
Step 2: Prepare the Paper Cover
Lay your paper flat on a clean surface. Place the wooden frame on top. Use a pencil to lightly trace the shape of the kite, leaving about 1 inch (2.5 cm) of margin around the sticks. Remove the frame and cut the paper along the traced lines.
Step 3: Attach the Paper to the Frame
Fold the edges of the paper over the frame and secure them using glue or tape. Start with one corner and work your way around. Make sure the paper is snug and tight across the frame, but not overly stretched. Avoid wrinkles or loose areas that could affect the kite’s performance.
Step 4: Create the Bridle
The bridle is a string that connects the kite to the flying line. Punch a small hole near where the two sticks intersect. Tie a piece of string through the hole securely. This string should be around 12 inches (30 cm) long. Tie the other end to your main flying line.
Step 5: Add a Tail (Optional)
While not always necessary, tails add balance and flair. Cut a long ribbon or make a streamer from leftover paper strips. Attach the tail to the bottom tip of the vertical stick using glue or tape. This helps stabilize the kite in strong winds and makes it visually striking as it soars.
Decorating Your Paper Kite
Personalizing your paper kite adds an extra layer of enjoyment. Use markers, crayons, or colored pencils to decorate the paper before attaching it to the frame. You can draw patterns, add stickers, or write your name. Avoid attaching heavy decorations, which might hinder the kite’s flight.
How to Fly Your Paper Kite
Once your kite is built, find an open space with minimal obstructions like trees or power lines. Parks, beaches, and fields are ideal. Wait for a day with light to moderate wind too strong, and the paper may rip; too weak, and the kite may not lift.
Launching the Kite
Hold the kite against the wind and let out some of the string. Ask a friend to gently toss it into the air while you back away and reel out the string. Once airborne, control the line by adjusting tension. With a bit of practice, you’ll learn to maneuver the kite and keep it stable.
Common Problems and Solutions
Kite Won’t Fly
- Check if the frame is too heavy. Lightweight sticks work best.
- Ensure the bridle is centered correctly.
- Try flying in stronger wind.
Kite Spins or Flutters
- Add a longer tail for better balance.
- Adjust the bridle position slightly to improve control.
Kite Rips
- Use sturdier paper or reinforce corners with tape.
- Avoid flying in high wind conditions.
Why Make a Paper Kite?
There are countless reasons to learn how to make a kite with paper. It’s a fun and educational craft for all ages, teaching about wind, balance, and aerodynamics. It’s also an eco-friendly activity that can be done with recycled materials. Plus, flying a handmade kite is a source of pride and happiness that few modern toys can replicate.
Tips for Success
- Test different paper sizes to find the ideal lift.
- Experiment with tail lengths for better control.
- Use double-sided tape for cleaner edges.
- Supervise young children with scissors and glue.
Creative Variations
Once you’re comfortable with the basic design, try more creative kite styles. Diamond shapes, box kites, or dragon kites can be made from paper with some added patience and planning. You can also try using colored tissue paper or patterned wrapping paper for a unique finish. Consider collaborating with friends to host a homemade kite festival or contest.
Learning how to make a kite with paper brings together imagination, craftsmanship, and joy. It’s an inexpensive and meaningful project that can turn a simple piece of paper into a source of fun and pride. Whether you’re teaching children, enjoying a quiet afternoon, or engaging in a nostalgic activity, paper kite making is a hobby worth trying. All you need is a few supplies, some patience, and a love for the wind. Your sky-bound creation awaits.