Keeping blades sharp is essential whether you’re a woodworker, chef, barber, or knife enthusiast. Over time, even a well-sharpened edge loses its fine finish. That’s where a leather strop comes into play. A leather strop helps realign the microscopic teeth on the blade’s edge, refining and polishing it to razor sharpness. While commercial strops are widely available, making your own leather strop is a rewarding, cost-effective project that allows you to tailor the size and materials to your specific needs.
Understanding the Purpose of a Leather Strop
Why Strop a Blade?
Sharpening stones grind away metal to create a sharp edge. However, even the finest grit leaves a roughness that can affect performance. Stropping smooths and polishes the edge, removing burrs and enhancing sharpness. It’s the finishing touch in blade maintenance and is especially useful for straight razors, chisels, carving tools, and knives.
Types of Leather Strops
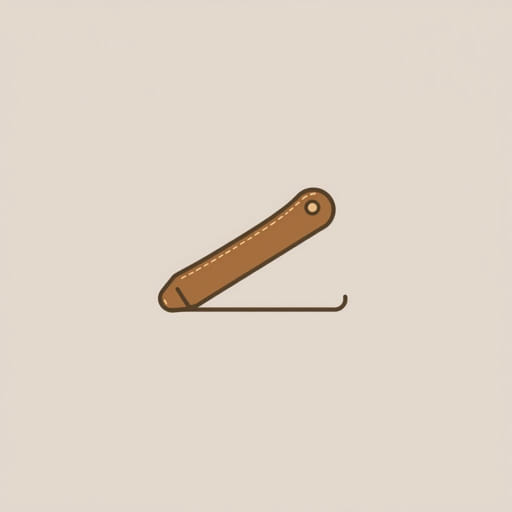
There are several types of strops based on design and use:
- Bench strop: A flat piece of leather mounted on wood, placed on a table or bench.
- Hanging strop: A flexible strip of leather with a hook or loop, often used by barbers for razors.
- Paddle strop: Leather attached to a wooden handle for handheld use.
For beginners, a bench strop is typically the easiest to make and use.
Materials Needed to Make a Leather Strop
Essential Supplies
You don’t need many tools to make a leather strop. Gather the following materials:
- A piece of leather (vegetable-tanned cowhide is ideal)
- Wood block (smooth and flat, like maple or pine)
- Wood glue or contact cement
- Clamps (optional, but helpful for firm adhesion)
- Razor blade or sharp utility knife
- Sandpaper (fine grit, around 220400)
- Stropping compound (green chromium oxide or similar)
Choosing the Right Leather
Leather is the core of your strop. Use a firm but smooth leather surface. Vegetable-tanned leather works best because it’s durable and takes stropping compound well. You can use latigo, horsehide, or cowhide depending on availability. The leather should be around 3 to 5 mm thick for stability.
Preparing the Wooden Base
Selecting the Wood
A flat, solid piece of wood is essential to ensure the leather sits evenly. The wood should be at least as wide and long as your leather strip. Common sizes are 8 to 12 inches in length and 2 to 3 inches in width. Make sure the surface is smooth and clean.
Sanding the Surface
Use fine-grit sandpaper to remove any splinters, glue residue, or uneven spots on the wooden block. Wipe off dust with a clean cloth after sanding to ensure the glue adheres properly.
Attaching the Leather to the Base
Measuring and Cutting the Leather
Lay the leather flat and place the wood block on top to measure the exact dimensions. Use a utility knife or razor blade to cut the leather to size. A clean, straight edge gives a more professional look and better function.
Gluing the Leather
Apply a thin, even layer of wood glue or contact cement to the back of the leather and to the wood. Let it sit for a minute if using contact cement, then press the leather firmly onto the wood. Use clamps or weight to hold it in place for a few hours while the adhesive dries. Ensure there are no bubbles or gaps.
Finishing the Leather Strop
Trimming and Smoothing
Once the glue is dry, inspect the edges. If the leather overhangs, carefully trim it flush with the wood using a sharp blade. Lightly sand the edges for a smooth finish.
Applying Stropping Compound
Although plain leather works fine, stropping compounds can improve polishing results. Apply the compound by rubbing it across the leather like a crayon. A little goes a long way. Spread it evenly, and it will melt into the surface with friction during use. Green chromium oxide is a popular choice for general-purpose stropping.
Using Your Leather Strop
Proper Technique
Hold the strop firmly on a table or bench. Place the blade flat against the leather with the edge trailing not leading to avoid cutting into the strop. Draw the blade along the leather away from the edge, flip it over, and repeat on the other side. Use light, even pressure. Stropping is about polishing, not grinding.
Frequency and Maintenance
Strop your blade regularly to maintain sharpness and reduce the need for frequent sharpening. Clean the strop occasionally by scraping off old compound and reapplying as needed. Keep it dry and store it flat to avoid warping.
Advanced Variations and Customizations
Double-Sided Strops
Some strops feature two leather surfaces: one with compound for aggressive polishing and one plain for final refinement. You can make a dual-sided strop by gluing leather to both sides of the wood or adding a second strip next to the first.
Using Balsa Wood Instead of Leather
For ultra-fine polishing, some users mount stropping compound on balsa wood instead of leather. Balsa is softer and conforms slightly to the edge. It’s an optional method, but leather remains the classic and durable choice.
Personalizing Your Strop
You can brand or carve your initials into the wood, stain the base, or add a hanging strap for storage. Custom touches make your strop more enjoyable to use and reflect your craftsmanship.
Common Mistakes to Avoid
- Using the wrong side of the leather (the smooth grain side is usually preferred over the rough flesh side).
- Pressing too hard during stropping, which can round the edge.
- Stropping with the blade facing forward always trail the edge to avoid cuts in the leather.
- Applying too much compound, which can clog the leather.
- Skipping proper alignment ensure the leather is glued flat and evenly.
Making your own leather strop is a simple yet highly rewarding DIY project. Not only does it save money, but it also gives you control over the size, materials, and finish of your tool. A well-crafted strop will keep your blades razor sharp and ready for precise work, whether you’re shaving, carving, or cutting. With just a few basic tools and some attention to detail, you can create a leather strop that will last for years and elevate your sharpening routine to a new level of effectiveness and satisfaction.